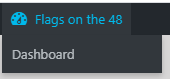
First, login to the flagsonthe48.org web site, then look at the top left of the screen where you’ll see the “Flags on the 48” menu. Hover over it and choose “Dashboard”
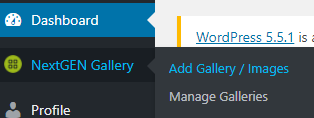
When you open the dashboard, you’ll be able to hover over “NextGEN Gallery” and choose “Add Gallery/Images”
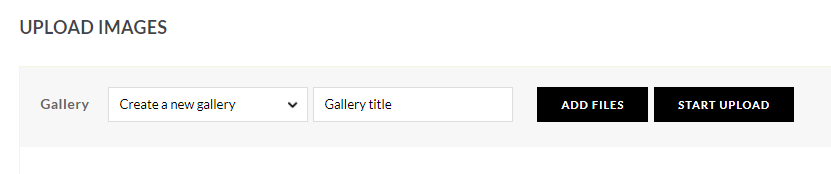
You will then see “Upload Images” in the middle of the page.
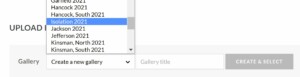
At this point, click on “Create a new gallery” and choose your peak from the list. Do not create a new gallery please!
From there you can drag and drop your pics, or click “Add files” to get an upload window.
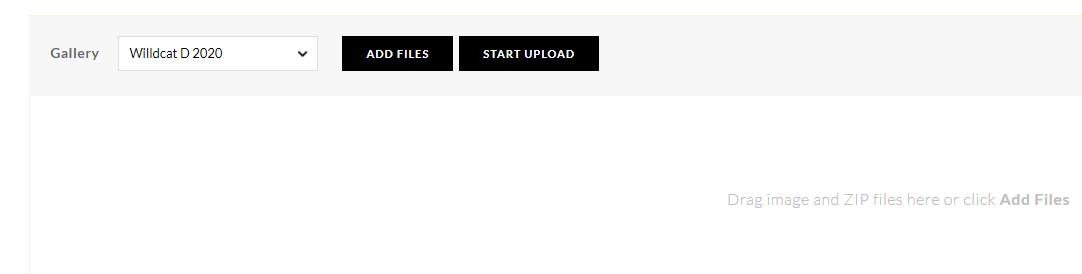
When you’re done adding, click “Start Upload”. When they’re all uploaded, you’re done!
